Friday, December 23, 2016

Penne Gamberetto Messicano - Prawn Penne Mexicano

When it comes to Italian food or pasta, a common perception is that it would be bland and tasteless. However Americans have adopted pasta to suit the local tastes combined with the "texmex" cuisine to create a fusion. Here's a prawn penne pasta with loads of Mexican inspired vegetables i.e., capsicums and mushrooms. This version is fairly simple and also uses or rather re-uses vessels to strengthen the taste. Without further ado - here it comes.


Ingredients:


  1. Penne Pasta (or any other type that you may prefer)
  2. Prawns
  3. Garlic - finely chopped or minced
  4. Capsicums (Red and Green for colour)
  5. Sun Dried tomatoes
  6. Mushrooms
  7. Flour (Maida) - 2 table spoons
  8. Cream
  9. Milk
  10. Parmesan cheese (for garnish)
  11. Parsley (for garnish)
  12. Butter
  13. Olive Oil
  14. Cayenne pepper powder

The Method

  1. Boil a large pot with water and salt. 
  2. Cook the pasta for about 6 - 8 minutes until it is not too hard (and not too soft either)
  3. While the pasta is boiling you can chop the vegetables and keep it ready.
  4. In a large work melt about 100 gms of butter and add garlic and saute for a few minutes.
  5. Add the prawns and saute until they are half cooked.
  6. Add the vegetables and saute for few minutes.
  7. Remove the contents and keep aside.
  8. In the same pan melt about 50 gms of butter along with olive oil.
  9. Add a cup of milk, 2 table spoons of cream and let it boil.
  10. Add the flour and stir it well without letting it lump up.
  11. Add salt and cayenne pepper to taste
  12. Add some water to get to a saucy consistency - should be able to pour with a spatula but should not be too thin either.
  13. Add the pasta and mix it well
  14. Add the sauteed prawns and vegetables and mix it well.
  15. Serve hot with a garnish of grated parmesan cheese and finely chopped parsley leaves.


Saturday, December 17, 2016

Le Gateaux Carotte a.k.a Carrot Cake


I have always wondered how/why  spices like Cinnamon and Nutmeg can get into a baker's pantry. Carrot cake is one brilliant example how these spices can add so much flavour to a cake. Carrot Cake is one of those desserts which has various textures baked in - soft, moist and crunchy. Whenever I try a store bought cake the icing always puts me off - there's always so much icing and a bit too sweet. Here's my version of a soft, moist and crunchy carrot cake.


Ingredients

For Batter

  1. All purpose flour - 2 cups
  2. Baking powder - 3 teaspoons
  3. Cinnamon powder - 2 teaspoons
  4. Nutmeg powder - 2 teaspoons
  5. Brown Sugar - 1 cup
  6. Melted Butter - 125 gms (1/2 cup)
  7. Cream - 2 tablespoons
  8. Milk - 3-4 tablespoons
  9. Vegetable oil - 1/2 cup
  10. Vanilla essence - 2 teaspoons
  11. Eggs - 3
  12. Grated Carrot - 1 1/2 cups
  13. Crushed walnuts
For Icing
  1. Cream cheese - 1 block
  2. Butter - 125 gms
  3. Vanilla essence - 2 teaspoons
  4. Icing sugar - 2 cups

The Method

The Cake
  1. Sift through all the dry ingredients (#1 - #5) in a large mixing bowl,
  2. Whisk all the wet ingredients (#6 - #10) in another bowl. 
  3. Blend the dry and wet ingredients along with the grated carrot and crushed walnuts until they are mixed evenly.
  4. Grease a baking pan with butter or vegetable oil and pour the batter in.
  5. Spread the batter around the pan so they are evenly filled.
  6. Bake the batter in a 150 deg C oven - slightly higher temperature if not fan operated for a out 20 minutes
  7. As always - follow your nose for baking until you get the aroma of something baking.
  8. Test the cake by inserting a tooth pick in the middle and it should come out clean without any batter sticking on to it.
  9. Remove the cake and let it cool while you work on the icing.

The Icing
  1. Take the cream cheese and butter that is already is already in room temperature (keep them outside before you start the entire procedure) and whisk them on a high speed whisk /  blender until you get a smooth pasty texture.
  2. Sift through the icing sugar along with the vanilla essence and blend it well.
  3. If you would like to decorate your cake with some "carrots" you could take a few tablespoons of this icing separately and mix food colours as you need. (Green for the "leaves" , Red and yellow for the "carrot").
The finishing touches
  1. By now you have what you need for a carrot cake. Apply the icing on top and all over the cake once the cake has cooled down (about 30 minutes post baking).
  2. If you like a layered cake - slice the cake in the middle, apply a layer of icing on the bottom layer and then smother all the rest of icing all around.
  3. You can bag the coloured icing in a ziploc bag and attempt your artistic talents to create the carrots on top of the icing. Being my first time I had mixed success. There are enough Youtube  videos on how to decorate your carrot cake.

Tuesday, December 6, 2016

Chunky Strawberry Cheese Cake

If my memory serves right I had my very first strawberry cheese cake about 28 years ago in Singapore. Of course I had no idea then what a cheese cake was. Fast forward about 15 years later I got re-introduced to this delectable dessert via the Cheese Cake Factory in Phoenix, AZ. That is when I learnt that no matter how much dinner you eat - you got to save room for dessert. The creamy, cheesy, slightly tangy and a bite of crunchy cheese cake - well if you haven't tried one - here's how you can make it yourselves. I researched quite a few recipes across the web some baked some non-baked. Each one had something that I liked and I didn't like. So here's a version with all the aspects that I liked from a few recipes. 

Ingredients:
  1. Cream Cheese - 250 gms
  2. Strawberries - 250 gms
  3. Biscuits 250 gms (Any sweetish biscuit will do - even though some recommend grahams crakers)
  4. Sweetened Condensed milk 
  5. Butter - 125 gms
  6. Egg - 1
  7. Sugar - few tablespoons
  8. Vanilla essence - 2 tea spoons
  9. Lemon juice - from 1 lemon
  10. Corn starch - 1 tea spoon
  11. Red Food Colour - absolutely optional
The Method

Strawberry Cheese Cake has 4 phases which can be done almost in parallel while one of them is cooking.

The Base

1) Crush the biscuits until they are crumbed. You can use a blender or just put the biscuits in a ziplog bag and give a good whack using a rolling pin.
2) Melt the butter and mix it with the biscuit crumbs until evenly mixed.
3) Take a circular spring form baking pan and grease the sides with butter.
4) Pour the biscuit crumbs into it and pat it around nice and gently until it is evenly spread and a little bit goes into the sides.
5) Refrigerate this base for about 30 minutes (at least).

While the base is chilling out you can start on the next phase - the batter.
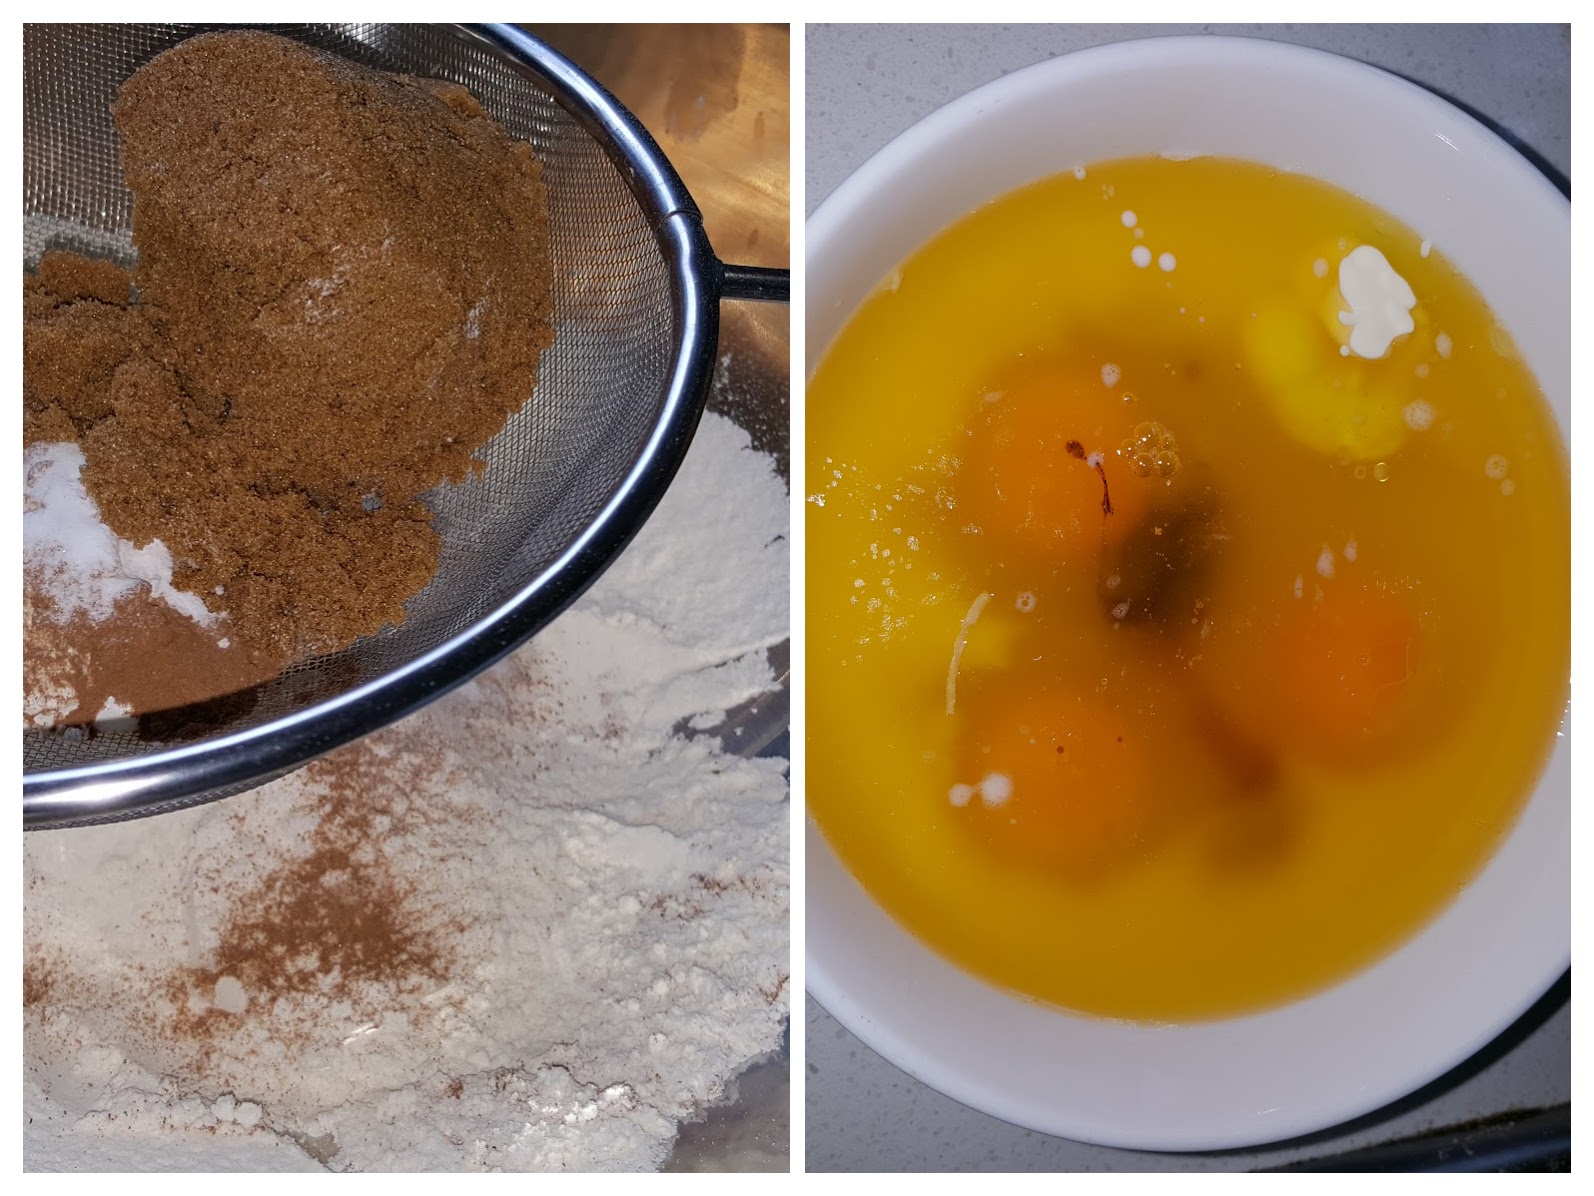
The Batter

1) Whip the cream cheese (which is pre-softened to room temperature) for a minute or using a hand blender or any other mechanical device that suits you.
2) Add the condensed milk, vanilla essence, lemon juice and mix it until well blended.
3) Crack an egg into this mix and blend it well
4) Add a few drops of red food colour to get the pinkish strawberryish look and blend.
5) Finally add a few tablespoons of chopped strawberries and fold it in with a spatula until evenly mixed.
6) Pour the batter into the base and sypread it around evenly with a spatula.
7) Bake the mix in an oven at 150 degrees celsius (approximately 300 deg F) for about 40 minutes. Here, again I would say go with your nose and eyes and not necessarily the time. Stop baking as soon as you smell the buttery cake aroma and the top layer starts to show signs of brown. You can also refer to some handy tips provided by the cream cheese product.

The Topping / Sauce

1) Take a couple of strawberries, diced them up roughly and blend it with about half a cup of water.
2) Filter this blend in a sauce pan and bring it to a boil.
3) Add a few tablespoons of sugar and mix it well.
4) Add 2 tablespoons of corn starch water to thicken the sauce.
5) Set the sauce aside to cool to room temperature and then refrigerate.
6) Slice a few strawberries thinly 

The Finale


1) Arrange the sliced strawberries in a circular fashion on the baked cake while it is still within the spring pan. Arrange the tapered end of the slice facing outwards.
2) Pour the sauce over the strawberries and gently rotate it around so the sauce is spread evenly and slow drip over the corners.
3) Refrigerate (at least) for a few hours before relishing.


Happy Baking !!

C